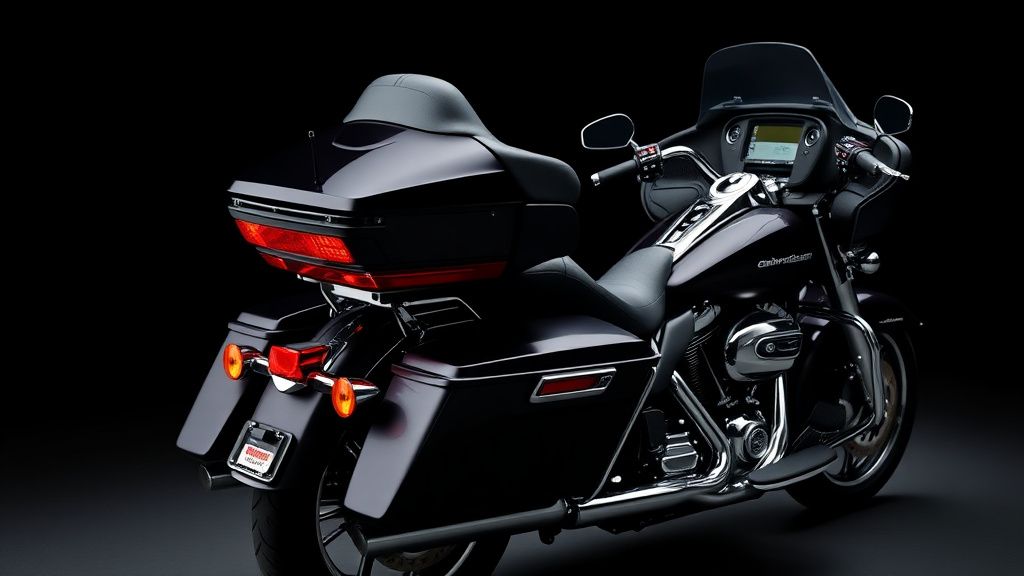
How to Install Harley-Davidson Saddlebag Guards
Saddlebag guards are essential accessories for Harley-Davidson bagger and touring motorcycles, offering protection against drops, scrapes, and road debris while enhancing the bike’s rugged aesthetic. Whether you ride a Road Glide, Street Glide, or Electra Glide, installing saddlebag guards is a straightforward process with the right tools and preparation. This guide covers everything from selecting the right guards to step-by-step installation.
Types of Harley-Davidson Saddlebag Guards
Before installation, it’s important to choose the right guards for your bike. Harley-Davidson offers several styles, including:
- Chrome or Black Steel Guards: Durable and classic, these bolt directly to the saddlebag mounts and frame, providing robust protection.
- Detachable Guards: Designed for quick removal, ideal for riders who frequently swap accessories.
- Extended Guards: Offer additional coverage for larger saddlebags or custom setups.
- Low-Profile Guards: Sleeker and less obtrusive while still providing basic protection.
Most Harley guards are designed for specific models, so ensure compatibility before purchasing.
Tools and Materials Needed
Gather the following before starting:
- Metric Allen wrenches or hex keys (sizes vary by model)
- Torque wrench (for precise fastener tightening)
- Socket set (typically 8mm, 10mm, or 12mm)
- Threadlocker (blue Loctite recommended)
- Clean microfiber cloth (to prep surfaces)
- Factory service manual (for torque specs)
Step-by-Step Installation
Step 1: Prepare the Work Area
Park the bike on a level surface and support it securely. Remove any saddlebags if they obstruct access to the mounting points. Clean the mounting areas to ensure debris won’t interfere with alignment.
Step 2: Remove Existing Hardware (If Applicable)
Some models have factory-installed brackets or reflectors that must be removed. Use the appropriate socket or Allen wrench to loosen and set aside fasteners. Keep small parts organized.
Step 3: Test-Fit the Guards
Hold the guards in place to verify alignment with pre-drilled holes. Check for clearance with saddlebags, exhaust, and rear fender. Minor adjustments may be needed.
Step 4: Install Mounting Brackets
Most guards attach via brackets that bolt to the frame or saddlebag supports. Apply a small amount of threadlocker to fasteners to prevent loosening. Hand-tighten bolts initially, then use a torque wrench to secure them to factory specifications (typically 15-25 ft-lbs, but consult your manual).
Step 5: Attach the Guards
Slide the guards into the brackets and secure them with provided hardware. Ensure even spacing and no contact with painted surfaces. Tighten gradually in a crisscross pattern to avoid misalignment.
Step 6: Final Inspection
Double-check all fasteners for tightness. Reinstall saddlebags and test open/close functionality to confirm guards don’t interfere. Take a short test ride to listen for rattles or vibrations.
What to Look for in Saddlebag Guards
When shopping for guards, consider:
- Material: Steel or heavy-duty aluminum offers the best protection.
- Finish: Powder-coated or chrome finishes resist corrosion.
- Fitment: Model-specific designs ensure proper mounting without modification.
- Warranty: Harley-Davidson-branded guards often include a limited warranty.
Avoid universal or poorly fitting guards, as they may require drilling or compromise safety.
Troubleshooting Common Issues
- Rattling Guards: Check for loose fasteners or missing rubber isolators.
- Saddlebag Interference: Adjust guard angle or verify correct model fitment.
- Scratches: Use protective tape during installation to prevent marring.
Conclusion
Installing Harley-Davidson saddlebag guards is a simple yet impactful upgrade. With the right tools and attention to detail, you can enhance your bike’s protection and style in under an hour. Always follow factory torque specs and test-fit components before final tightening. For more Harley-Davidson bagger accessories and tips, explore our guides on crash bars, luggage racks, and touring upgrades.