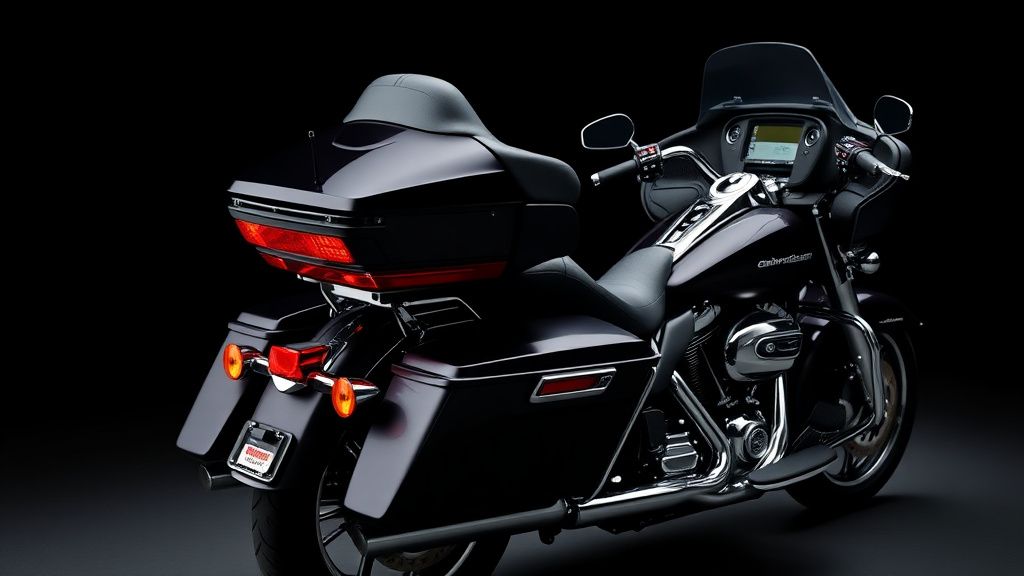
How to Install Harley-Davidson Highway Pegs on Your Bagger
Highway pegs are a must-have accessory for long-distance riders, offering improved comfort by allowing you to stretch your legs and change riding positions. Installing them on your Harley-Davidson bagger—such as a Road Glide, Street Glide, or Electra Glide—is a straightforward process if you have the right tools and follow the correct steps. Below, we’ll walk you through the installation process, discuss different types of highway pegs, and highlight key features to consider before purchasing.
Tools and Materials You’ll Need
Before starting, gather the following tools and parts:
- Highway pegs kit (includes pegs, mounting hardware, and brackets)
- Socket wrench set (metric or standard, depending on your bike)
- Allen wrenches
- Torque wrench (for proper bolt tightening)
- Threadlocker (optional, but recommended)
- Clean cloth and degreaser (to prep the mounting area)
Types of Harley-Davidson Highway Pegs
Highway pegs come in several styles, each offering different benefits:
- Fixed-Mount Pegs – These attach directly to the engine guard or crash bar and remain stationary. They’re simple, durable, and ideal for riders who prefer a solid footrest.
- Flip-Up Pegs – These can be folded up when not in use, reducing bulk and preventing accidental scrapes in tight spaces.
- Adjustable Pegs – Some models allow you to change the angle or position of the peg for a customized fit.
- Floorboard Extensions – For riders who prefer floorboards over pegs, these extensions bolt onto existing mounts to provide extra legroom.
Most Harley-Davidson baggers use engine guard-mounted pegs, so ensure your chosen pegs are compatible with your bike’s crash bar diameter (common sizes are 1.25” or 1.5”).
Step-by-Step Installation Guide
Step 1: Prepare the Mounting Area
- Clean the section of the engine guard where the pegs will attach using a degreaser and cloth. This ensures a secure fit and prevents slippage.
- If reusing existing hardware, inspect it for wear or damage.
Step 2: Attach the Peg Brackets
- Slide the provided U-bolt or clamp around the engine guard at your desired position (typically midway for optimal comfort).
- Insert the peg bracket into the U-bolt and loosely hand-tighten the nuts.
- Ensure the bracket is level before fully tightening.
Step 3: Install the Pegs
- Thread the peg onto the bracket’s mounting stud or bolt. Some models use a locking collar or set screw to secure the peg in place.
- Adjust the peg angle to your preference (pointing slightly outward reduces knee strain).
- Tighten all bolts securely, but avoid over-torquing (refer to the manufacturer’s specifications, usually 15-25 ft-lbs).
Step 4: Test for Stability
- Gently apply pressure to the pegs to check for movement. If they shift, re-tighten the hardware.
- Consider applying threadlocker to critical bolts to prevent loosening from vibrations.
What to Look for in Highway Pegs
When shopping for highway pegs, keep these factors in mind:
- Compatibility – Ensure the pegs fit your bike’s engine guard diameter.
- Material – Steel or billet aluminum pegs offer durability, while rubber-coated pegs reduce vibration.
- Adjustability – Flip-up or adjustable pegs add versatility.
- Grip Surface – Textured or rubberized pegs prevent foot slippage in wet conditions.
- Weight Capacity – Heavy-duty pegs are essential for larger riders.
Final Tips for Optimal Comfort
- Experiment with peg placement before final tightening—small adjustments make a big difference in comfort.
- Pair highway pegs with ergonomic seats and handlebar risers for a fully customized riding position.
- Regularly inspect hardware for loosening, especially after long rides.
By following these steps, you’ll enhance your bagger’s comfort for those long hauls. Whether you’re cruising the interstate or tackling a cross-country trip, highway pegs are a simple upgrade that makes a world of difference.