How to Install Harley-Davidson Front Fork Boots
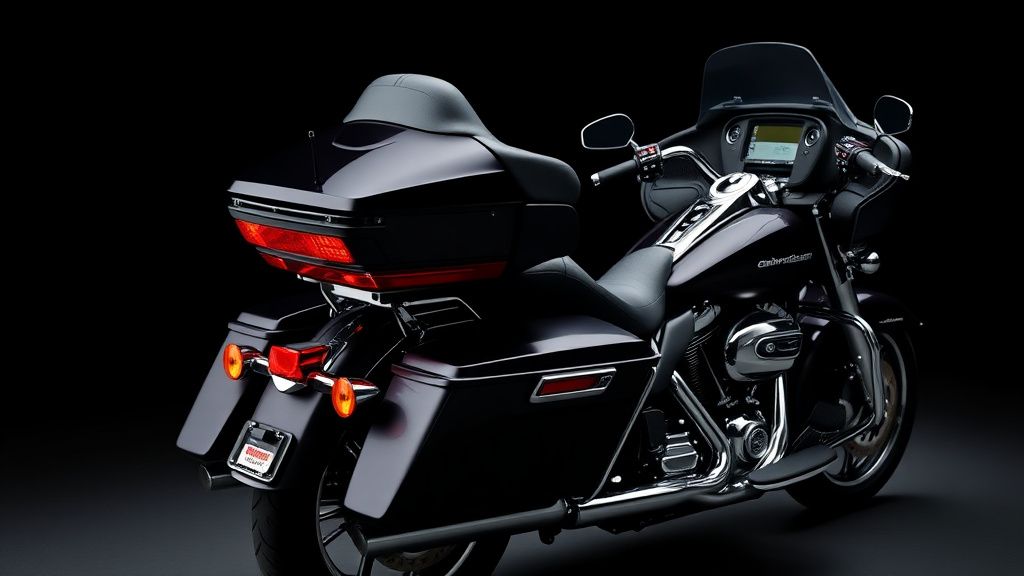
Front fork boots are an essential accessory for Harley-Davidson bagger and touring motorcycles. They protect the fork tubes from dirt, debris, and moisture, extending the life of your suspension components. Whether you’re riding a Road Glide, Street Glide, or Electra Glide, installing fork boots is a straightforward process that can be done at home with basic tools.
In this guide, we’ll walk you through the installation process step by step, discuss the different types of Harley-Davidson fork boots available, and highlight what to look for when choosing a set.
Tools and Materials You’ll Need
Before starting, gather the following:
- Front fork boots (compatible with your Harley model)
- Clean rags and isopropyl alcohol (for cleaning fork tubes)
- Zip ties or hose clamps (depending on boot design)
- Flathead screwdriver (for prying off old boots if necessary)
- Scissors (for trimming excess material)
- Motorcycle stand or jack (to lift the front wheel off the ground)
Types of Harley-Davidson Fork Boots
Harley-Davidson offers several fork boot options, including:
- OEM Rubber Fork Boots – These are factory-style boots made from durable rubber, designed to fit specific Harley models like the Road Glide or Street Glide. They provide a snug fit and excellent protection.
- Neoprene Fork Gaiters – A popular aftermarket option, neoprene gaiters are flexible, weather-resistant, and often come in custom colors. They’re secured with zip ties or Velcro straps.
- Leather Fork Boots – For a classic look, leather boots offer protection while adding a retro aesthetic. They typically use buckles or straps for installation.
Choose a style that matches your bike’s look and your riding conditions (e.g., neoprene for wet climates, leather for a vintage vibe).
Step-by-Step Installation
Step 1: Prepare the Motorcycle
- Place your bike on a stand or jack to lift the front wheel off the ground. This relieves pressure on the forks and makes installation easier.
- Clean the fork tubes thoroughly with isopropyl alcohol to remove dirt and grease.
Step 2: Remove Old Fork Boots (If Applicable)
- If replacing existing boots, carefully pry them off using a flathead screwdriver. Avoid scratching the fork tubes.
- Wipe away any residue before installing the new boots.
Step 3: Install New Fork Boots
-
For Slip-On Rubber Boots:
- Slide the boot over the fork tube, starting from the top.
- Work it down until it sits snugly against the lower fork leg.
- Ensure there are no wrinkles or twists for a proper seal.
-
For Neoprene Gaiters:
- Wrap the gaiter around the fork tube.
- Secure it using the included zip ties or Velcro straps.
- Trim any excess zip tie length for a clean look.
-
For Leather Boots:
- Position the boot around the fork and fasten the buckles or straps.
- Adjust for a tight fit to prevent movement while riding.
Step 4: Final Adjustments
- Double-check that the boots are evenly aligned on both forks.
- Ensure there’s no interference with brake lines or other components.
- Test fork movement by compressing the front suspension to confirm the boots don’t bind.
What to Look for in Fork Boots
When shopping for Harley-Davidson front fork boots, consider:
- Material Durability – Rubber and neoprene resist weather and abrasion, while leather requires more maintenance but offers a classic look.
- Fitment Compatibility – Verify that the boots are designed for your specific Harley model (e.g., Road Glide, Ultra Limited).
- Installation Method – Some boots slip on, while others require straps or zip ties. Choose based on your preference for ease of installation.
- Aesthetic Appeal – Match the boots to your bike’s style—black for a stealthy look, chrome accents for a polished finish, or colored neoprene for customization.
Maintenance Tips
- Inspect fork boots regularly for cracks, tears, or loose fasteners.
- Clean them with mild soap and water to prevent dirt buildup.
- Replace boots if they show signs of wear to maintain fork protection.
Conclusion
Installing Harley-Davidson front fork boots is a simple yet impactful upgrade for bagger and touring motorcycles. Whether you prefer OEM rubber, neoprene gaiters, or leather boots, proper installation ensures long-lasting protection and a sharp appearance. Follow these steps, choose the right boots for your ride, and enjoy a cleaner, more durable fork setup on your next adventure.