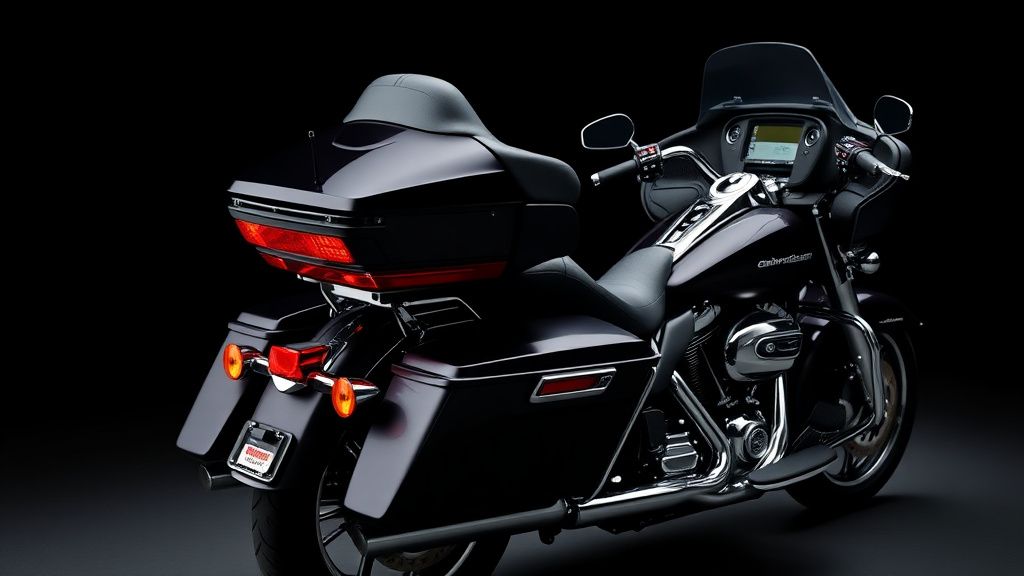
How to Install Harley-Davidson Fairing Trim
Fairing trim is a popular accessory for Harley-Davidson bagger and touring motorcycles, enhancing both aesthetics and protection. Whether you’re adding trim to a Road Glide, Street Glide, or Electra Glide, proper installation ensures a clean, secure fit. This guide covers the steps for installing fairing trim, the types available, and what to look for when purchasing.
Types of Harley-Davidson Fairing Trim
Fairing trim comes in several styles, each serving a different purpose:
- Chrome Trim – Adds a classic, polished look to fairings and lowers. Often used on Road Glides and Street Glides for a premium finish.
- Blackout Trim – Matte or gloss black trim for a stealthy, modern appearance. Popular on bikes with a dark theme.
- Rubber Edge Trim – Protects fairing edges from scratches and vibrations while providing a subtle accent.
- LED Accent Trim – Some trims incorporate lighting for increased visibility and style.
Most trims attach via adhesive backing, clips, or screws, depending on the design.
Tools & Materials Needed
Before starting, gather the following:
- Fairing trim kit (ensure it matches your model year and fairing type)
- Isopropyl alcohol & microfiber cloth (for surface prep)
- Trim adhesive (if not pre-applied)
- Plastic pry tools (to avoid scratching paint)
- Torx or hex drivers (if screws are required)
- Hair dryer or heat gun (for flexible trim shaping)
Step-by-Step Installation
1. Remove the Fairing (If Necessary)
Some trims install better with the fairing removed. For full fairings (like on a Road Glide), follow these steps:
- Disconnect the battery.
- Remove fairing bolts using the appropriate Torx or hex bit.
- Gently pull the fairing away, disconnecting any wiring for lights or gauges.
For lower fairings or partial trim, removal may not be necessary.
2. Clean the Installation Surface
Use isopropyl alcohol and a microfiber cloth to remove dirt, wax, or grease from the fairing edge. A clean surface ensures strong adhesion.
3. Test Fit the Trim
Before peeling off adhesive backing, test-fit the trim to confirm alignment. Some trims wrap around the fairing edge, while others sit flush against the surface.
4. Apply the Trim
- For adhesive-backed trim, peel off the protective liner in small sections, pressing firmly as you go. Use a hair dryer to soften and shape the trim around curves.
- For clip-on trim, align the clips with the fairing edge and snap into place.
- For screw-mounted trim, pre-drill pilot holes if needed, then secure with provided hardware.
5. Secure and Finalize
Press along the entire length of the trim to ensure full adhesion. If using adhesive, let it cure for 24 hours before riding. Reinstall the fairing if removed.
What to Look for When Buying Fairing Trim
- Material Quality – Stainless steel or high-grade polymer resists rust and fading.
- Compatibility – Verify fitment for your specific Harley model (e.g., Road Glide vs. Street Glide).
- Installation Method – Adhesive-backed trim is easiest; screw-on offers durability.
- Finish Durability – UV-resistant coatings prevent discoloration over time.
Troubleshooting Common Issues
- Peeling Trim – If adhesive fails, clean the area and reapply with motorcycle-grade trim adhesive.
- Gaps or Misalignment – Remove and reposition before the adhesive fully sets.
- Vibrations – Ensure clips or screws are tight; rubber trim can dampen movement.
Final Thoughts
Installing fairing trim is a straightforward way to customize and protect your Harley-Davidson bagger. Whether you prefer chrome, blackout, or functional rubber edging, proper prep and installation ensure long-lasting results. Always follow manufacturer instructions for the best outcome.
For more Harley-Davidson accessory guides, explore our tutorials on saddlebag guards, windshields, and lighting upgrades.