Why Install Engine Stabilizer Links on Your Harley-Davidson?
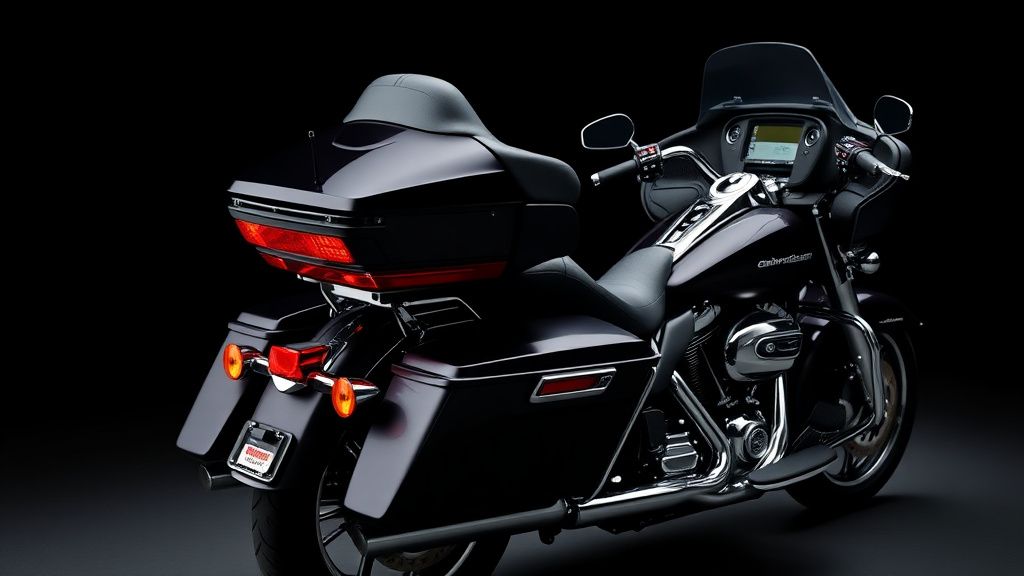
Harley-Davidson bagger and touring motorcycles are known for their power and smooth rides, but over time, engine vibrations can become noticeable, especially at higher speeds or during long rides. Engine stabilizer links (also known as engine stabilizer bars or torque links) are a popular upgrade to reduce unwanted movement and improve overall stability. These links connect the engine to the frame, minimizing engine flex and ensuring a more controlled ride. Installing them is a straightforward process that can significantly enhance your motorcycle’s performance and comfort.
Types of Harley-Davidson Engine Stabilizer Links
There are a few types of engine stabilizer links available for Harley-Davidson motorcycles, each designed to fit specific models and purposes:
-
Standard Stabilizer Links: These are the most common and are often made from durable materials like steel or aluminum. They’re designed to reduce engine movement without altering the bike’s geometry.
-
Adjustable Stabilizer Links: These allow for fine-tuning of the engine’s position, offering greater control over how the engine sits relative to the frame. They’re ideal for riders who want a custom fit or have modified their motorcycles.
-
Performance Stabilizer Links: Built for high-performance applications, these links are often lighter and stronger, made from materials like billet aluminum or titanium. They’re perfect for riders looking to maximize stability while reducing weight.
When choosing stabilizer links, ensure they’re compatible with your specific Harley-Davidson model, such as the Road Glide, Street Glide, or Ultra Limited.
Tools and Materials You’ll Need
Before starting the installation, gather the following tools and materials:
- Engine stabilizer links kit (includes stabilizer links and mounting hardware)
- Socket wrench set
- Torque wrench
- Allen keys or hex wrench set
- Thread locker (optional but recommended)
- Clean rag or towel
- Motorcycle lift or jack (optional but helpful)
Step-by-Step Installation Guide
Step 1: Prepare Your Motorcycle
Start by ensuring your motorcycle is on a flat, stable surface. If available, use a motorcycle lift or jack to raise the bike slightly for easier access. Remove any components that might obstruct access to the engine mounting points, such as the saddlebags or exhaust covers.
Step 2: Locate the Engine Mounting Points
Identify the mounting points on the engine and frame where the stabilizer links will attach. These are typically located near the lower part of the engine and the frame rails. Refer to your motorcycle’s service manual if you’re unsure.
Step 3: Remove the Old Links (If Applicable)
If your motorcycle already has stabilizer links installed, use a socket wrench or Allen key to remove them. Loosen the bolts carefully and keep the hardware in case you need it later.
Step 4: Install the New Stabilizer Links
- Attach the new stabilizer links to the engine and frame mounting points. Ensure they’re aligned properly and not twisted or bent.
- Secure the links with the provided bolts and washers. If the kit includes thread locker, apply a small amount to the bolts before tightening.
- Use a torque wrench to tighten the bolts to the manufacturer’s recommended torque specification. Over-tightening can damage the links or mounting points, while under-tightening can lead to instability.
Step 5: Double-Check the Installation
Once the links are installed, double-check all bolts and connections to ensure everything is secure. Inspect the links for proper alignment and ensure there’s no interference with other components.
Step 6: Test Ride and Adjust
Take your motorcycle for a short test ride to assess the new stabilizer links. Pay attention to any changes in vibration or handling. If you’ve installed adjustable links, make fine-tuning adjustments as needed for optimal performance.
What to Look for When Buying Engine Stabilizer Links
When shopping for engine stabilizer links, consider the following factors:
-
Compatibility: Ensure the links are designed for your specific Harley-Davidson model and year. Some links are universal, but others are model-specific.
-
Material: Look for high-quality materials like steel, aluminum, or titanium. These materials offer durability and strength while minimizing weight.
-
Adjustability: If you want the ability to fine-tune your engine’s position, opt for adjustable stabilizer links.
-
Ease of Installation: Choose links that come with clear instructions and all necessary hardware for a hassle-free installation.
-
Reviews and Reputation: Read customer reviews and choose products from reputable manufacturers known for their Harley-Davidson accessories.
Benefits of Upgrading to Engine Stabilizer Links
Installing engine stabilizer links on your Harley-Davidson bagger or touring motorcycle offers several advantages:
- Reduced Vibration: Minimizes engine movement, resulting in a smoother ride.
- Improved Handling: Enhances stability, especially during cornering or at high speeds.
- Increased Longevity: Reduces stress on engine mounts and other components, potentially extending their lifespan.
- Custom Fit: Adjustable links allow for a tailored setup to suit your riding style and preferences.
By following this guide, you can confidently install engine stabilizer links on your Harley-Davidson motorcycle and enjoy a more stable and comfortable ride. Whether you’re cruising down the highway or tackling winding roads, this upgrade is a worthwhile investment for any touring or bagger enthusiast.