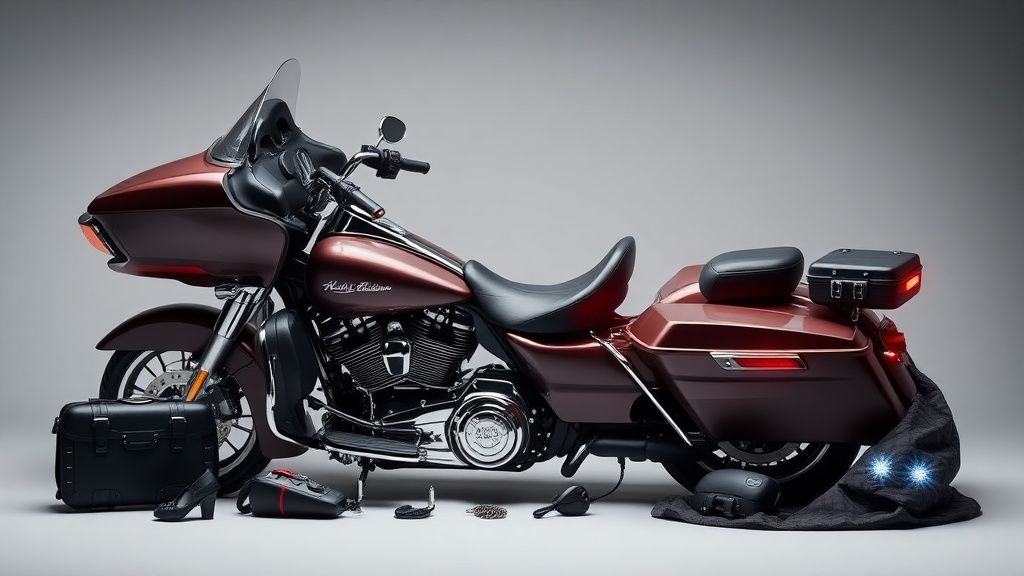
Why Install a USB Charger on Your Harley Touring Bike?
Modern riders rely on smartphones, GPS devices, and Bluetooth headsets—all of which need power. A USB charger ensures your devices stay charged on long rides without draining your bike’s battery. Harley-Davidson touring bikes, like the Road Glide, Street Glide, or Electra Glide, often have accessory-ready wiring, making installation straightforward.
Types of USB Chargers for Harley Bikes
Not all USB chargers are the same. Here are the most common types for touring bikes:
- Hardwired USB Ports – Permanently mounted and wired directly to the bike’s electrical system. These often include weatherproof housings and multiple charging ports (e.g., USB-A and USB-C).
- Plug-and-Play Chargers – Some models plug into existing accessory ports (like a 12V socket) for a simpler installation.
- Dual-Port vs. Single-Port – Dual ports allow charging two devices simultaneously, useful for riders using a phone and a GPS.
- Fast-Charging Models – Look for chargers supporting Quick Charge or Power Delivery (PD) if you need faster charging for modern devices.
Tools and Materials You’ll Need
Before starting, gather these tools:
- A multimeter (to test voltage and connections)
- Wire strippers and crimping tool
- Heat shrink tubing or electrical tape
- Zip ties (for securing wires)
- A drill and bits (if mounting requires new holes)
- Screwdrivers (Phillips and flathead)
- Fuse tap (if connecting to the fuse box)
Step-by-Step Installation Guide
1. Choose the Mounting Location
Common spots for USB chargers on Harley touring bikes include:
- Handlebar clamp area – Keeps the charger within easy reach.
- Fairing pocket or dash – A cleaner look, but may require more wiring.
- Tour Pak (trunk) or saddlebag – Useful for charging luggage-stored devices.
Ensure the location is weather-resistant and doesn’t interfere with controls.
2. Connect to Power
Most Harley touring bikes have a switched (ignition-controlled) power source under the seat or near the battery. Here’s how to wire it:
- Option 1: Direct to Battery – Provides constant power but risks draining the battery if left connected. Use an inline fuse (5A is typical).
- Option 2: Switched Power (Recommended) – Taps into a circuit that only powers on with the ignition. The accessory terminal under the seat is a common choice.
- Option 3: Fuse Box Tap – Use a fuse tap on an existing circuit (like the radio or auxiliary power).
3. Secure Wiring
Run wires along factory harnesses using zip ties to prevent loose cables. Avoid sharp edges or moving parts (like the steering head). If drilling is needed, use a grommet to protect the wire.
4. Test Before Finalizing
Before securing everything:
- Turn on the ignition and check if the charger powers up.
- Test with a device to confirm it charges properly.
- Verify no wires are pinched or exposed.
5. Final Mounting
Once tested, secure the USB charger with provided screws or adhesive mounts. Seal any drilled holes with silicone if exposed to weather.
What to Look for in a USB Charger
When shopping for a USB charger for your Harley, consider:
- Water Resistance – Look for an IP67 or higher rating if exposed to rain.
- Voltage Compatibility – Must handle 12V-24V (Harleys run ~12V, but voltage can spike).
- Amperage Output – At least 2.4A per port for decent charging speed.
- Build Quality – Metal housings resist vibration better than plastic.
- Harley-Specific Kits – Some chargers include plug-and-play harnesses for easier installation.
Troubleshooting Common Issues
- No Power – Check fuse connections and verify the ground wire is secure.
- Intermittent Charging – Loose wiring or a poor connection; re-crimp terminals.
- Slow Charging – The charger may not supply enough amps; upgrade to a higher-output model.
Final Thoughts
Installing a USB charger on your Harley touring bike is a practical upgrade for long-distance riders. With the right tools and a methodical approach, you can add this convenience in under an hour. Whether you’re powering a phone, GPS, or comms system, a reliable charger ensures you stay connected on the road.
For more Harley-Davidson touring tips, check out our guides on luggage solutions, upgraded lighting, and audio systems.