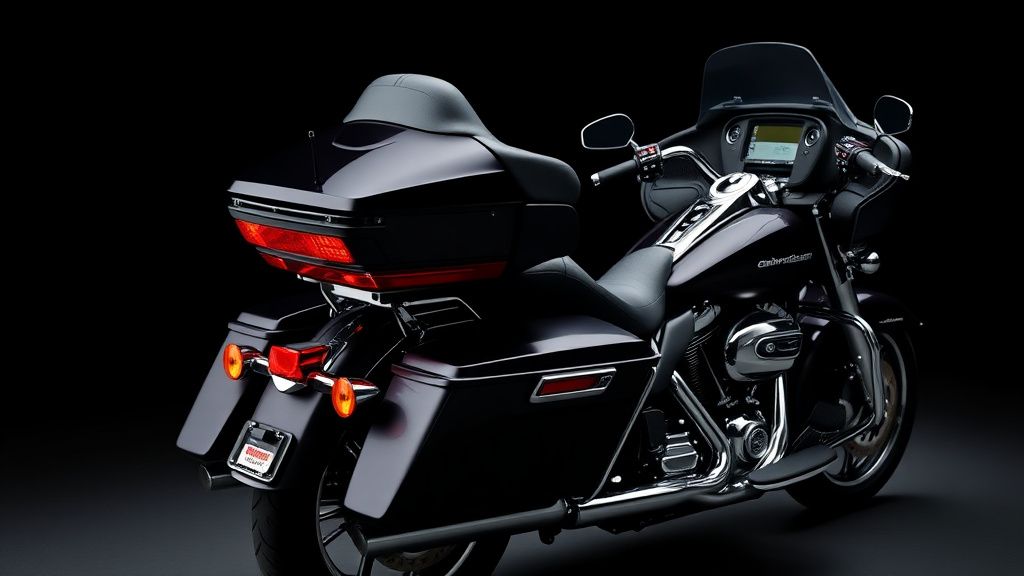
How to Install a New Harley-Davidson Air Cleaner on Your Bagger
Upgrading or replacing the air cleaner on your Harley-Davidson bagger can improve performance, enhance aesthetics, or simply maintain your bike’s efficiency. Whether you’re installing a high-flow performance air cleaner or a stock replacement, the process is straightforward if you follow the right steps. This guide walks you through the installation while highlighting key considerations for bagger models like the Road Glide, Street Glide, or Electra Glide.
Tools and Materials You’ll Need
Before starting, gather the following:
- Socket set (including a 5/16” or 8mm socket for most models)
- Torx bits (T27 for some Harley models)
- Screwdriver (flathead or Phillips, depending on your air cleaner)
- Clean rags (to wipe away debris)
- New air cleaner assembly (compatible with your model)
- Thread locker (optional, for securing bolts)
Step 1: Remove the Old Air Cleaner
- Disconnect the Battery – For safety, disconnect the negative terminal to prevent accidental starts or electrical issues.
- Loosen the Air Cleaner Cover – Most Harley baggers use a single large nut or multiple screws to secure the cover. Use your socket or screwdriver to remove them.
- Detach the Backplate – Some models have a backplate secured with bolts or Torx screws. Remove these carefully, noting their positions.
- Unplug the IAT Sensor – If your air cleaner has an intake air temperature (IAT) sensor, gently unplug it before fully removing the assembly.
Step 2: Clean the Intake Area
With the old air cleaner removed, inspect the throttle body and intake area for dirt or debris. Wipe it down with a clean rag to ensure no particles enter the engine during reassembly.
Step 3: Install the New Air Cleaner
- Position the Backplate – Align the new backplate with the throttle body, ensuring gaskets (if included) are properly seated.
- Reattach the IAT Sensor – Plug the sensor back into its port if your setup includes one.
- Secure the Backplate – Tighten the bolts or screws evenly in a crisscross pattern to avoid warping.
- Attach the Filter Element – Slide the filter onto the backplate, ensuring it’s seated snugly.
- Install the Cover – Place the outer cover over the filter and tighten the central nut or screws. Avoid overtightening, which can crack the housing.
Step 4: Reconnect the Battery and Test
Reconnect the battery and start the bike. Listen for unusual sounds or air leaks. If the bike runs smoothly, take a short test ride to ensure proper performance.
What to Look for in a Harley-Davidson Air Cleaner
When choosing an air cleaner for your bagger, consider:
- Compatibility – Ensure the model fits your specific Harley (e.g., Milwaukee-Eight, Twin Cam).
- Material – High-quality aluminum or composite housings resist heat and vibration.
- Filter Type – Cotton gauze (for high airflow) or oiled foam (for dust protection) offer different benefits.
- Design – Some aftermarket options feature custom finishes or integrated breather systems.
Final Tips
- Always follow torque specs for bolts to avoid damage.
- Check for air leaks after installation by spraying a light mist of water around the seal; bubbles indicate a poor fit.
- For performance upgrades, consider a tune to optimize fuel mapping.
Installing a new air cleaner is a simple yet impactful way to maintain or enhance your bagger’s performance. With the right tools and attention to detail, you’ll have it done in under an hour.