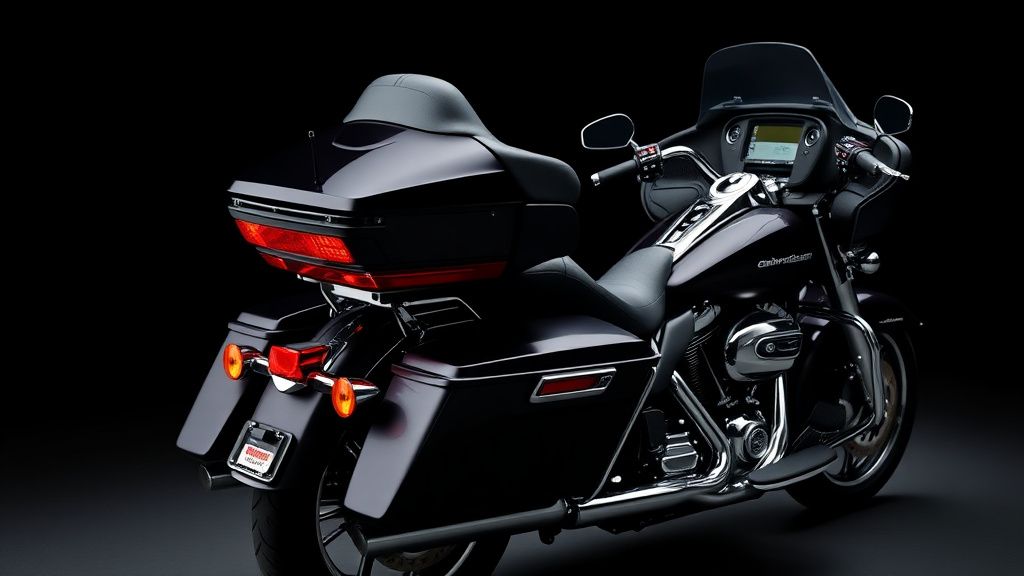
How to Install a Harley-Davidson Voltage Regulator
Installing a voltage regulator on your Harley-Davidson bagger or touring motorcycle is a straightforward task if you have the right tools and follow the correct steps. The voltage regulator ensures your battery receives a steady charge while preventing overcharging, which can extend the life of your electrical components. Whether you’re replacing a faulty unit or upgrading for better performance, this guide will walk you through the process.
Tools and Materials You’ll Need
Before starting, gather the following:
- Socket set (including metric and SAE sizes)
- Torx and Allen wrenches (common on Harley-Davidson models)
- Wire strippers and crimpers (if splicing wires)
- Dielectric grease (to protect connections)
- Multimeter (for testing voltage before and after installation)
- New voltage regulator (OEM or aftermarket, compatible with your model)
Types of Harley-Davidson Voltage Regulators
Harley-Davidson touring bikes typically use one of two regulator types:
- Shunt-Type Regulators – Found on older models, these divert excess voltage to ground. They’re durable but can run hotter.
- Series-Type Regulators – Common on newer bikes (like Milwaukee-Eight engines), these regulate voltage more efficiently by controlling current flow.
Some aftermarket regulators offer improved heat dissipation or higher output for bikes with added accessories like heated gear or auxiliary lighting.
Step-by-Step Installation
1. Disconnect the Battery
Always start by disconnecting the negative (-) battery terminal to prevent electrical shorts.
2. Locate the Voltage Regulator
On most Harley-Davidson touring models (Road Glide, Street Glide, Electra Glide), the regulator is mounted near the front of the engine or under the side cover. Refer to your service manual if unsure.
3. Remove the Old Regulator
- Unplug the wiring harness connector.
- Remove mounting bolts (usually 2-3) holding the regulator in place.
- Inspect the wiring for fraying or corrosion—replace damaged sections if needed.
4. Install the New Regulator
- Apply dielectric grease to the connector pins to prevent moisture damage.
- Secure the new regulator with bolts, ensuring it sits flush against its mounting surface (some models use thermal paste for better heat transfer).
- Reconnect the wiring harness.
5. Reconnect the Battery and Test
- Reattach the negative battery terminal.
- Start the bike and use a multimeter to check voltage at the battery terminals:
- Idle: ~13.5V–14V
- 3,000 RPM: ~14.2V–14.8V
- If readings are outside this range, double-check connections or consult a mechanic.
What to Look for in a Voltage Regulator
When shopping for a replacement or upgrade, consider:
- Compatibility – Ensure the regulator matches your bike’s year, model, and engine (e.g., Twin Cam vs. Milwaukee-Eight).
- Heat Dissipation – Look for finned designs or models with integrated cooling for longevity.
- Amperage Rating – Higher-output regulators (e.g., 50A+) are ideal for bikes with added electrical accessories.
- Weather Resistance – Sealed connectors or corrosion-resistant coatings improve durability.
Final Tips
- If your regulator repeatedly fails, inspect the stator and wiring for underlying issues.
- Aftermarket brands like Cycle Electric or Rick’s Motorsport Electrics offer high-performance options, but OEM units provide reliable plug-and-play compatibility.
- Keep spare fuses handy in case of installation errors.
By following these steps, you’ll ensure your Harley’s charging system operates smoothly, whether you’re on a cross-country tour or a weekend ride.