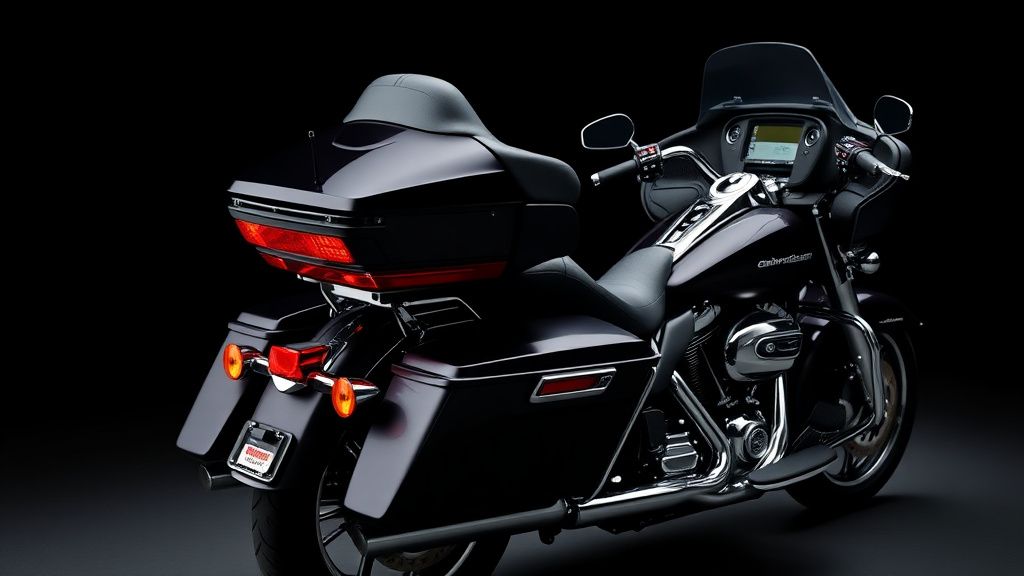
How to Install a Harley-Davidson Crash Bar on Your Touring Bike
Crash bars, also known as engine guards, are essential accessories for Harley-Davidson touring bikes like the Road King, Street Glide, or Electra Glide. They protect your engine and lower fairings in case of a tip-over or minor accident while adding a rugged aesthetic. Installing them yourself can save money and give you a deeper understanding of your bike’s structure. Below is a step-by-step guide to ensure a secure and proper installation.
Tools and Materials You’ll Need
Before starting, gather the following tools and materials:
- Metric and SAE socket set (Harley-Davidson bikes often use a mix of both)
- Torque wrench (critical for proper bolt tightness)
- Allen wrenches (for mounting hardware)
- Loctite thread locker (prevents bolts from loosening due to vibration)
- Rubber mallet (helps align mounting points if needed)
- Shop rag & degreaser (to clean mounting surfaces)
- Factory service manual (for torque specs and bike-specific details)
Most Harley-Davidson crash bars come with all necessary mounting hardware, but double-check before beginning.
Step 1: Prepare Your Bike
- Park on a level surface – Use a motorcycle lift or center stand for stability.
- Disconnect the battery – Prevents accidental electrical shorts.
- Remove obstructions – Some crash bars require temporary removal of lower fairings, highway pegs, or saddlebag supports. Refer to your bike’s manual for specifics.
Step 2: Test-Fit the Crash Bar
- Unpack and inspect – Ensure all brackets, bolts, and spacers are included.
- Hold the crash bar in place – Align it with the frame mounting points without tightening.
- Check clearance – Verify the bar doesn’t interfere with foot controls, exhaust, or suspension.
Step 3: Install the Mounting Brackets
- Locate frame mounting points – Most Harley touring models have pre-drilled holes near the engine or frame downtubes.
- Attach brackets loosely – Use provided bolts and hand-tighten first. Avoid fully tightening until everything is aligned.
- Use thread locker – Apply a small amount to bolt threads to prevent loosening over time.
Step 4: Secure the Crash Bar
- Slide the crash bar into place – Some models bolt directly to brackets; others clamp around the frame.
- Tighten bolts incrementally – Alternate between bolts to ensure even pressure.
- Torque to spec – Refer to your manual (typically 18-25 ft-lbs for most Harley crash bars). Over-tightening can strip threads or warp brackets.
Step 5: Reattach Components and Final Check
- Reinstall fairings or accessories – Ensure nothing rubs against the crash bar.
- Double-check bolt tightness – Vibration can loosen bolts on the first few rides.
- Test ride cautiously – Listen for unusual noises and recheck bolts after 50-100 miles.
What to Look for in a Harley-Davidson Crash Bar
Not all crash bars are the same. Here’s what to consider when choosing one:
- Material – Heavy-duty steel is best for maximum protection; avoid cheap aluminum.
- Finish – Powder-coated or chrome options resist rust and match your bike’s style.
- Design – Some bars wrap tighter to the engine for a streamlined look, while others extend outward for better protection.
- Compatibility – Ensure the bar fits your specific model year (e.g., a 2023 Road Glide may have different mounts than a 2018).
- Harley-Davidson vs. Aftermarket – Genuine Harley parts guarantee fitment, but reputable aftermarket brands may offer additional features like integrated highway pegs.
Troubleshooting Common Issues
- Vibration or rattling – Re-torque bolts and apply thread locker if needed.
- Misalignment – Loosen all bolts, reposition the bar, and tighten evenly.
- Scratched paint – Use soft clamps or tape during installation to protect the frame.
Final Thoughts
Installing crash bars on your Harley-Davidson touring bike is a straightforward task with the right tools and patience. Properly mounted, they’ll protect your investment and give you peace of mind on long rides. Always follow torque specifications and perform periodic checks to ensure everything stays secure.
Now hit the road with confidence—your bike’s vital components are shielded from unexpected mishaps!