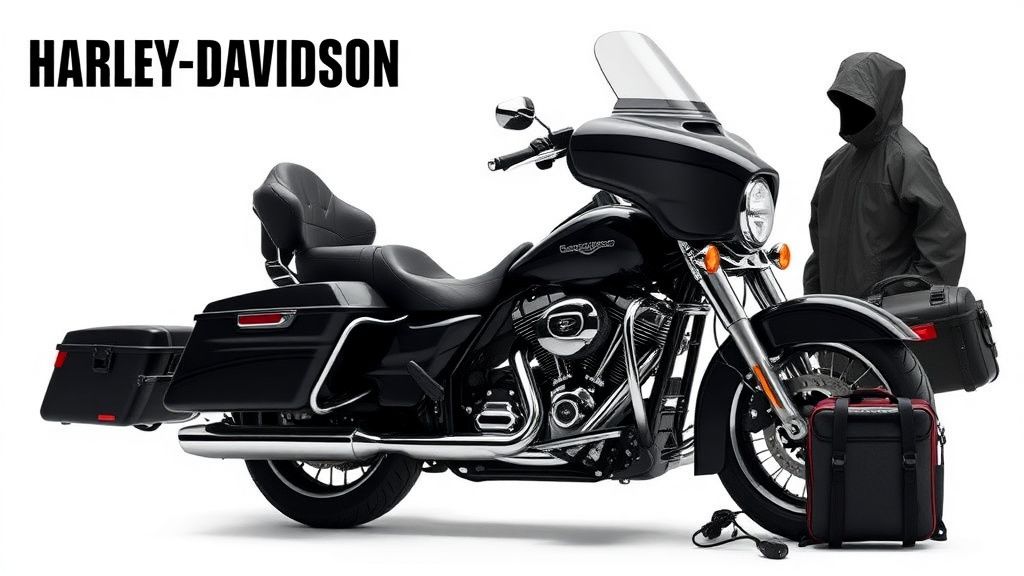
How to Choose the Best Harley Davidson Battery for Your Touring Bike
A reliable battery is crucial for keeping your Harley-Davidson touring bike running smoothly, especially on long rides. Whether you’re cruising cross-country or hitting the open road for a weekend getaway, the right battery ensures dependable starts, powers your accessories, and withstands the demands of touring. But with different types, technologies, and specifications available, how do you choose the best one for your bike?
This guide breaks down everything you need to know—from battery types to key features—so you can make an informed decision.
Understanding Battery Types for Harley Touring Bikes
Harley-Davidson touring bikes typically use one of three battery types:
1. Conventional Lead-Acid (Flooded) Batteries
These are the most traditional and affordable option. They require periodic maintenance, including checking and refilling electrolyte levels with distilled water. While they provide decent power, they’re heavier and less efficient than modern alternatives.
Best for: Riders who don’t mind occasional maintenance and want a budget-friendly option.
2. Absorbent Glass Mat (AGM) Batteries
AGM batteries are sealed, maintenance-free, and more vibration-resistant than flooded batteries. They deliver strong cranking power, recharge faster, and perform well in extreme temperatures—making them ideal for touring. Most modern Harley touring models come with AGM batteries from the factory.
Best for: Riders who want a reliable, low-maintenance battery with better performance.
3. Lithium-Ion Batteries
Lithium batteries are the lightest and most advanced option. They offer superior cold-cranking amps (CCA), faster recharge rates, and a much longer lifespan than lead-acid batteries. However, they’re more expensive and may require a compatible charging system.
Best for: Performance-focused riders who prioritize weight savings and maximum power output.
Key Features to Consider
Cold Cranking Amps (CCA)
CCA measures a battery’s ability to start your bike in cold weather. Touring bikes need a strong CCA rating—typically 300 CCA or higher—to ensure reliable starts, especially in colder climates.
Amp-Hour (Ah) Rating
This indicates how long the battery can deliver power before needing a recharge. A higher Ah rating (e.g., 18Ah-22Ah) is beneficial if you run multiple accessories like heated grips, GPS, or auxiliary lights.
Size and Fitment
Harley touring bikes have specific battery tray dimensions. Always check your owner’s manual or existing battery for the correct group size (e.g., HD-40, HD-30, or HD-24). An ill-fitting battery can cause electrical issues or mounting problems.
Maintenance Requirements
If you prefer a hassle-free option, go for AGM or Lithium-Ion. Flooded batteries require more upkeep but are cheaper upfront.
Vibration Resistance
Touring bikes endure constant vibrations, which can damage battery internals. AGM and Lithium batteries handle vibrations better than traditional lead-acid types.
What to Look for in a Harley Touring Battery
When shopping for a new battery, keep these factors in mind:
- Compatibility: Ensure the battery matches your bike’s year, model, and electrical requirements.
- Brand Reputation: Stick with reputable manufacturers known for Harley-Davidson applications.
- Warranty: Look for at least a 12-month warranty—preferably longer for Lithium batteries.
- Charging System: If upgrading to Lithium, verify your bike’s charging system supports it (some may need a voltage regulator update).
Installation Tips
- Disconnect the Negative Terminal First – Prevents accidental short circuits.
- Clean Battery Terminals – Remove corrosion with a baking soda solution and wire brush.
- Secure the Battery Properly – Loose batteries can vibrate and fail prematurely.
- Charge Before First Use – Even maintenance-free batteries benefit from an initial full charge.
Final Thoughts
Choosing the right battery for your Harley touring bike comes down to balancing performance, durability, and budget. AGM batteries offer the best all-around value for most riders, while Lithium-Ion is ideal for those seeking top-tier performance. Always verify fitment and specifications before purchasing to ensure trouble-free rides.
By selecting the right battery, you’ll enjoy reliable starts, extended accessory use, and peace of mind on every journey. Safe travels!