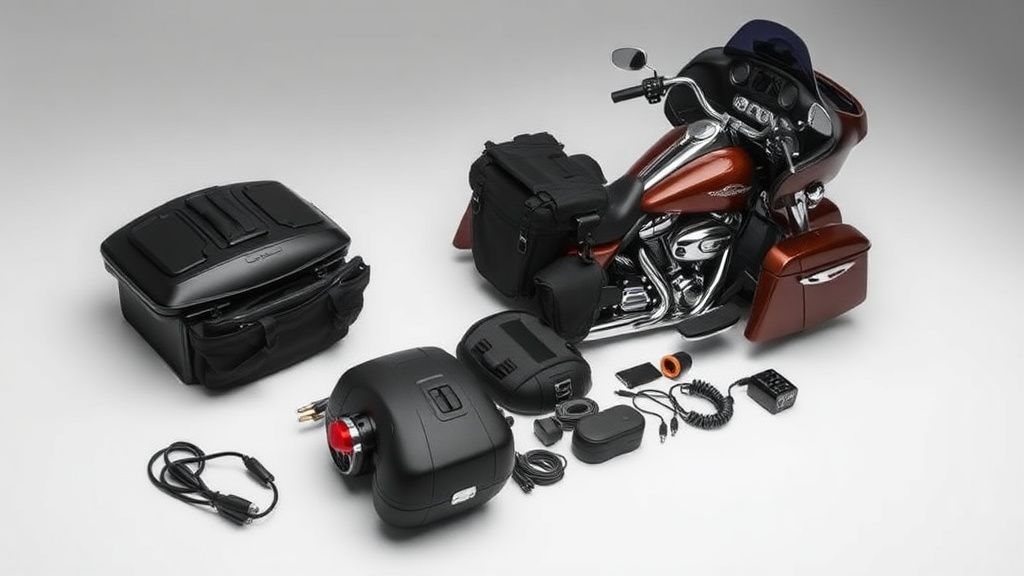
Harley-Davidson Lighting Kit Installation: A Step-by-Step Guide
Upgrading your Harley-Davidson bagger or touring bike with a lighting kit can enhance visibility, safety, and style. Whether you’re adding LED accent lights, auxiliary driving lights, or full underglow systems, proper installation ensures optimal performance and longevity. This guide walks you through the process step by step, covering key considerations and techniques.
Types of Harley-Davidson Lighting Kits
Before installation, identify the type of lighting kit you’re working with:
- LED Accent Lights – Small, low-profile strips or pods for highlighting contours (e.g., tank, fenders, or engine).
- Auxiliary Driving Lights – Brighter, focused beams for improved road illumination, often mounted on crash bars or fairings.
- Underglow Kits – Multi-color LED strips mounted along the chassis for ground effects.
- Turn Signal or Taillight Upgrades – Plug-and-play replacements with brighter LEDs for better visibility.
Most kits include wiring harnesses, connectors, and mounting hardware, but always verify compatibility with your model (e.g., Road Glide, Street Glide, or Electra Glide).
Tools and Materials You’ll Need
- Basic hand tools (screwdrivers, Allen wrenches, pliers)
- Wire strippers/crimpers
- Electrical tape or heat-shrink tubing
- Zip ties for cable management
- Dielectric grease (for moisture protection)
- Multimeter (optional, for testing circuits)
Step 1: Plan the Layout
- Mounting Locations – For accent or underglow lights, identify clean, flat surfaces away from heat sources (e.g., exhaust). Auxiliary lights should be symmetrical and angled to avoid blinding other riders.
- Wiring Route – Trace a path from the lights to the battery or switch, avoiding moving parts (e.g., suspension, handlebars). Use existing wire channels if possible.
Step 2: Mount the Lights
- Clean Surfaces – Wipe mounting areas with alcohol to ensure adhesion (for tape-mounted LEDs).
- Secure Hardware – Bolt-on lights (e.g., driving lights) may require drilling; use threadlocker to prevent loosening.
- Test Fit – Verify alignment before finalizing placement.
Step 3: Wiring and Electrical Connections
- Connect to Power – Most kits tie into the battery. Use an inline fuse (usually included) within 12” of the battery terminal.
- Red wire → Battery positive (+)
- Black wire → Battery negative (–) or chassis ground
- Switch Integration – For switched power (lights on/off with ignition), tap into a fused accessory circuit (check your manual for locations).
- Solder or Crimp – Secure connections with crimp connectors or solder, then insulate with heat-shrink tubing. Avoid loose or exposed wires.
Step 4: Test Before Finalizing
- Power On – Turn on the bike or switch to check functionality.
- Adjust Beams – For driving lights, aim them slightly downward to avoid glare.
- Check for Issues – Flickering or dim lights may indicate poor grounding or voltage drop.
Step 5: Secure and Protect Wiring
- Bundle Wires – Use zip ties to keep wiring tidy, leaving slack near moving parts.
- Weatherproof – Apply dielectric grease to connectors and seal exposed ends with electrical tape.
What to Look for When Buying a Lighting Kit
- Compatibility – Ensure the kit fits your Harley model and year. Some kits are designed specifically for baggers with fairing mounts.
- Brightness and Color – Lumens (lm) indicate brightness; 500+ lm is ideal for auxiliary lights. Choose DOT-approved white/yellow for road use.
- Wiring Quality – Look for thick, insulated wires and robust connectors. Cheap kits may overheat or fail prematurely.
- Control Options – Some kits include wireless remotes or smartphone apps for color-changing LEDs.
- Water Resistance – IP67 or higher ratings ensure durability in rain or washes.
Final Tips
- Consult your Harley-Davidson service manual for torque specs and electrical diagrams.
- For complex installations (e.g., CAN bus integration), consider professional help to avoid ECU issues.
- Regularly inspect lights and wiring for wear, especially after long rides.
With the right kit and careful installation, your Harley’s lighting upgrades will boost both function and flair. Ride safe—and shine on!