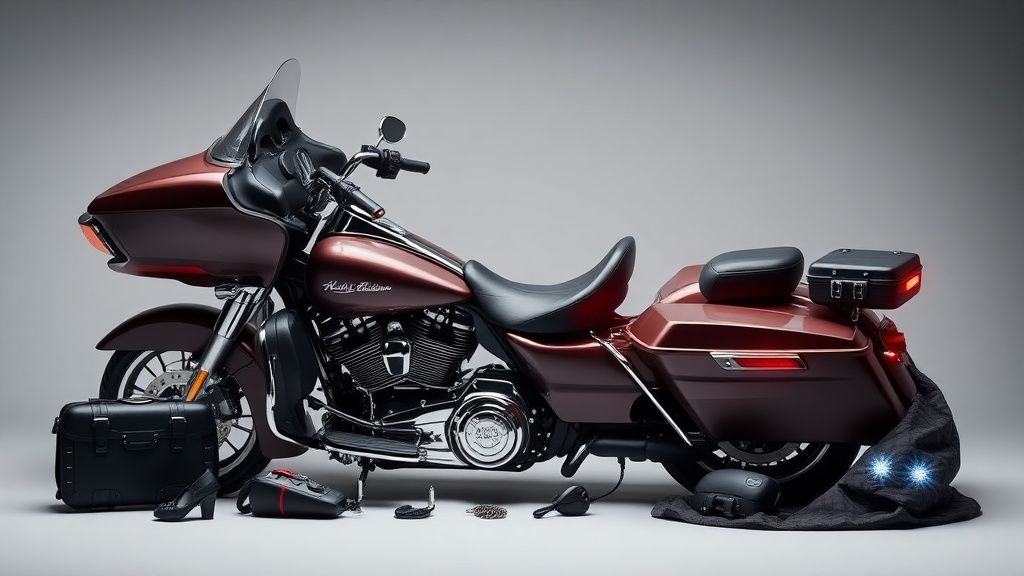
Why Upgrade Your Harley Bagger’s Audio System?
Harley-Davidson bagger motorcycles are known for their touring capabilities, but even the best bikes can benefit from a sound system upgrade. The stock audio systems on many Harley models are adequate for casual listening, but they often lack the power and clarity needed for long rides, especially at highway speeds. Adding an amplifier can dramatically improve your audio experience, delivering richer bass, clearer highs, and overall better sound quality. Whether you’re cruising through the city or embarking on a cross-country trip, a well-installed amplifier ensures your music keeps up with the ride.
Types of Amplifiers for Harley Baggers
When choosing an amplifier for your Harley bagger, it’s important to understand the different types available and how they fit into your setup:
-
Mono Amplifiers: Ideal for powering subwoofers, mono amps deliver deep, powerful bass that enhances your music’s low-end frequencies. If you’re looking to add a subwoofer to your bagger, a mono amp is a must.
-
Multi-Channel Amplifiers: These amps are versatile and can power multiple speakers simultaneously. A 4-channel amplifier, for example, can handle your front and rear speakers, providing balanced sound across your bike.
-
Compact Amplifiers: Designed for motorcycles, these amps are small and lightweight, making them easy to install without taking up too much space. They’re perfect for riders who want improved sound without a bulky setup.
-
Integrated Amplifiers: Some Harley audio systems come with integrated amps, but upgrading to a standalone unit can offer more power and control over your sound.
Tools and Materials You’ll Need
Before starting your amplifier installation, gather the necessary tools and materials:
- Amplifier kit (includes wiring harness, fuses, and connectors)
- Screwdrivers and Allen wizards
- Wire strippers and crimping tool
- Electrical tape or heat shrink tubing
- Zip ties for cable management
- Multimeter (for testing connections)
- Mounting brackets (if not included with the amplifier)
Having the right tools on hand will make the installation process smoother and help avoid delays.
Step-by-Step Amplifier Installation Guide
Step 1: Choose the Right Location
Selecting the right spot for your amplifier is crucial. Common locations include under the seat, inside the fairing, or in the saddlebag. Ensure the location is well-ventilated to prevent overheating and that the amp is secure to avoid vibrations.
Step 2: Disconnect the Battery
Safety first! Disconnect the negative terminal of your battery to prevent any electrical shorts or damage during installation.
Step 3: Run the Power Cable
Route the power cable from the battery to the amplifier location. Use existing wiring channels or create new ones if necessary. Secure the cable with zip ties to keep it tidy and prevent it from interfering with other components.
Step 4: Connect the Ground Wire
Find a solid metal surface near the amplifier and attach the ground wire. Sand the area to ensure a clean connection and tighten the screw securely.
Step 5: Install the Fuse Holder
Mount the fuse holder close to the battery and connect it to the power cable. This protects your system from electrical surges and potential damage.
Step 6: Connect the RCA Cables
Run RCA cables from your head unit to the amplifier. These cables transmit audio signals, so keep them away from power cables to avoid interference.
Step 7: Connect the Speaker Wires
Attach the speaker wires from the amplifier to your speakers. Ensure the connections are tight and secure for optimal sound quality.
Step 8: Reconnect the Battery
Once everything is connected, reconnect the battery and test the system. Turn on your head unit and adjust the amplifier settings to your preference.
Step 9: Secure and Organize Wires
Use zip ties to secure all wires and keep them organized. This not only improves the look of your installation but also prevents wires from getting tangled or damaged.
What to Look for When Buying an Amplifier
When shopping for an amplifier for your Harley bagger, consider the following factors:
-
Power Output: Ensure the amp provides enough power for your speakers and subwoofers. Check the RMS (root mean square) rating, which indicates continuous power output, rather than peak power.
-
Compatibility: Verify that the amplifier is compatible with your bike’s audio system. Some amps are designed specifically for Harley-Davidson models, making installation easier.
-
Size and Design: Choose an amplifier that fits your bike’s available space. Compact, weather-resistant designs are ideal for motorcycles.
-
Ease of Installation: Look for amps that come with a complete installation kit, including wiring harnesses and mounting brackets. This simplifies the process and ensures you have everything you need.
-
Sound Quality: Read reviews and listen to demos if possible. A good amplifier should enhance sound clarity and depth without distortion.
Final Thoughts: Enjoy the Ride with Enhanced Sound
Upgrading your Harley bagger’s audio system with an amplifier is a rewarding project that enhances your riding experience. With better sound quality, your favorite tunes will sound clearer and more dynamic, whether you’re cruising through town or hitting the open road. By following this guide and choosing the right amplifier for your needs, you can enjoy a professional-level audio setup that complements your Harley’s style and performance.